I’ve been baking sourdough loaves now for years. My first loaf was… Well, pretty poor and it started to take over my life a little bit. Most conversations would be steered towards bread, with the hope someone could help. I read countless blogs and spoke to many people, all offering different opinions and contradicting advice.
So I decided to go back to the basics. I bought the two best bread books I could get my hands on; Tartine Bread and Flour Water Salt Yeast. I read the sourdough loaf sections three times over before even touching any flour. Understanding the process really made a difference. I could then engage in proper conversations about bread and began to realise some of the things people were telling me. Two people I met at parties are keen sourdough bakers, this really helped and they were happy to share their tips, but also the mistakes they’ve made along the way.
Here I’ve tried to break down the method and also cover some of the key terms used in the process. Not going to lie, it’s still time-consuming, it has to be to make great sourdough, but trust me it’s worth it! Every loaf is different and that’s what’s exciting. The different variables, the care and the patience, come together to make each loaf unique.
Before you begin following this sourdough recipe guide, the most important thing I can mention is to have a strong starter. You want your starter to be at least doubling in size after feeding. I’ve made a ‘Ultimate Starter Guide’. It’s really handy if you want to create your own starter/improve your starter strength.
Sourdough Baking Key Terms
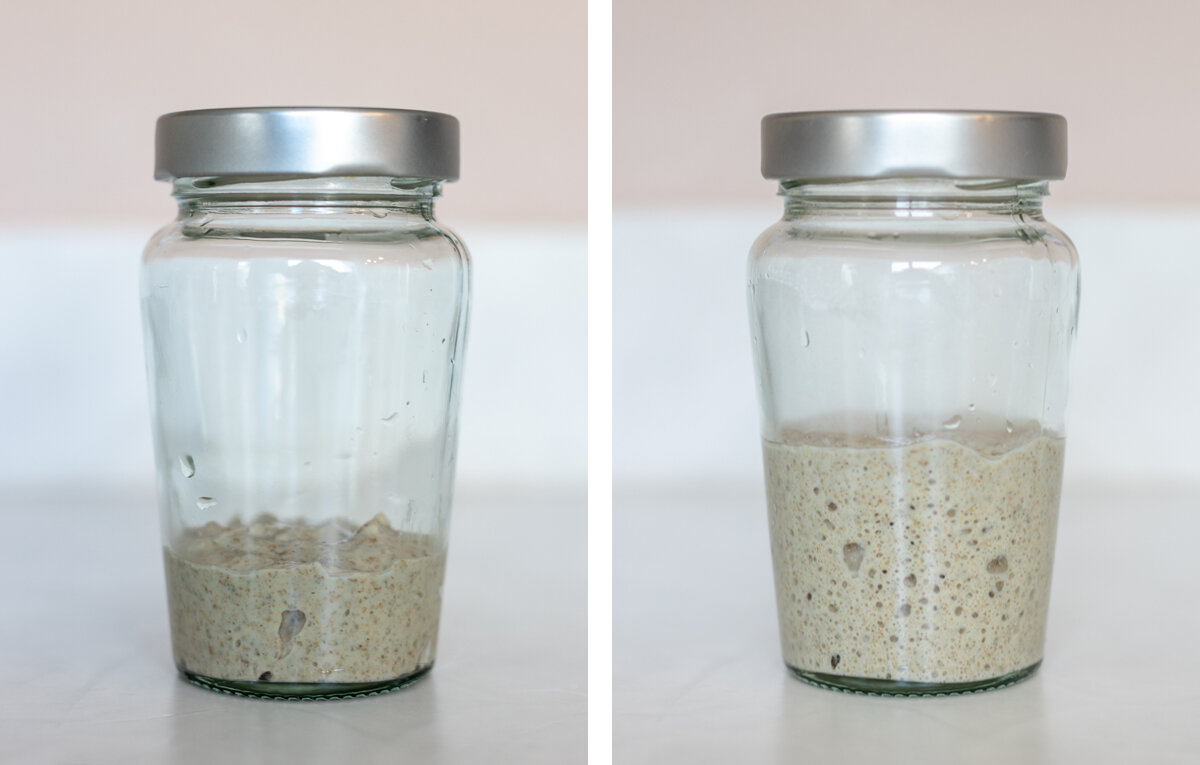
Starter
The starter is a mix of flour and water. Natural occurring bacteria is present which causes the flour to ferment. The starter requires feeding (flour and water) to stay alive. The starter is used to create the Leaven.
Leaven
The leaven is made from the starter and is ready once the mixture has reached its peak. The leaven provides your dough with yeast and bacteria. The starter should be fed prior to baking so it’s reached its full potential, becoming the Leaven.
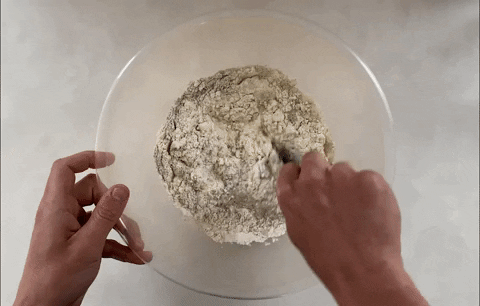
Autolyse (Auto-lease)
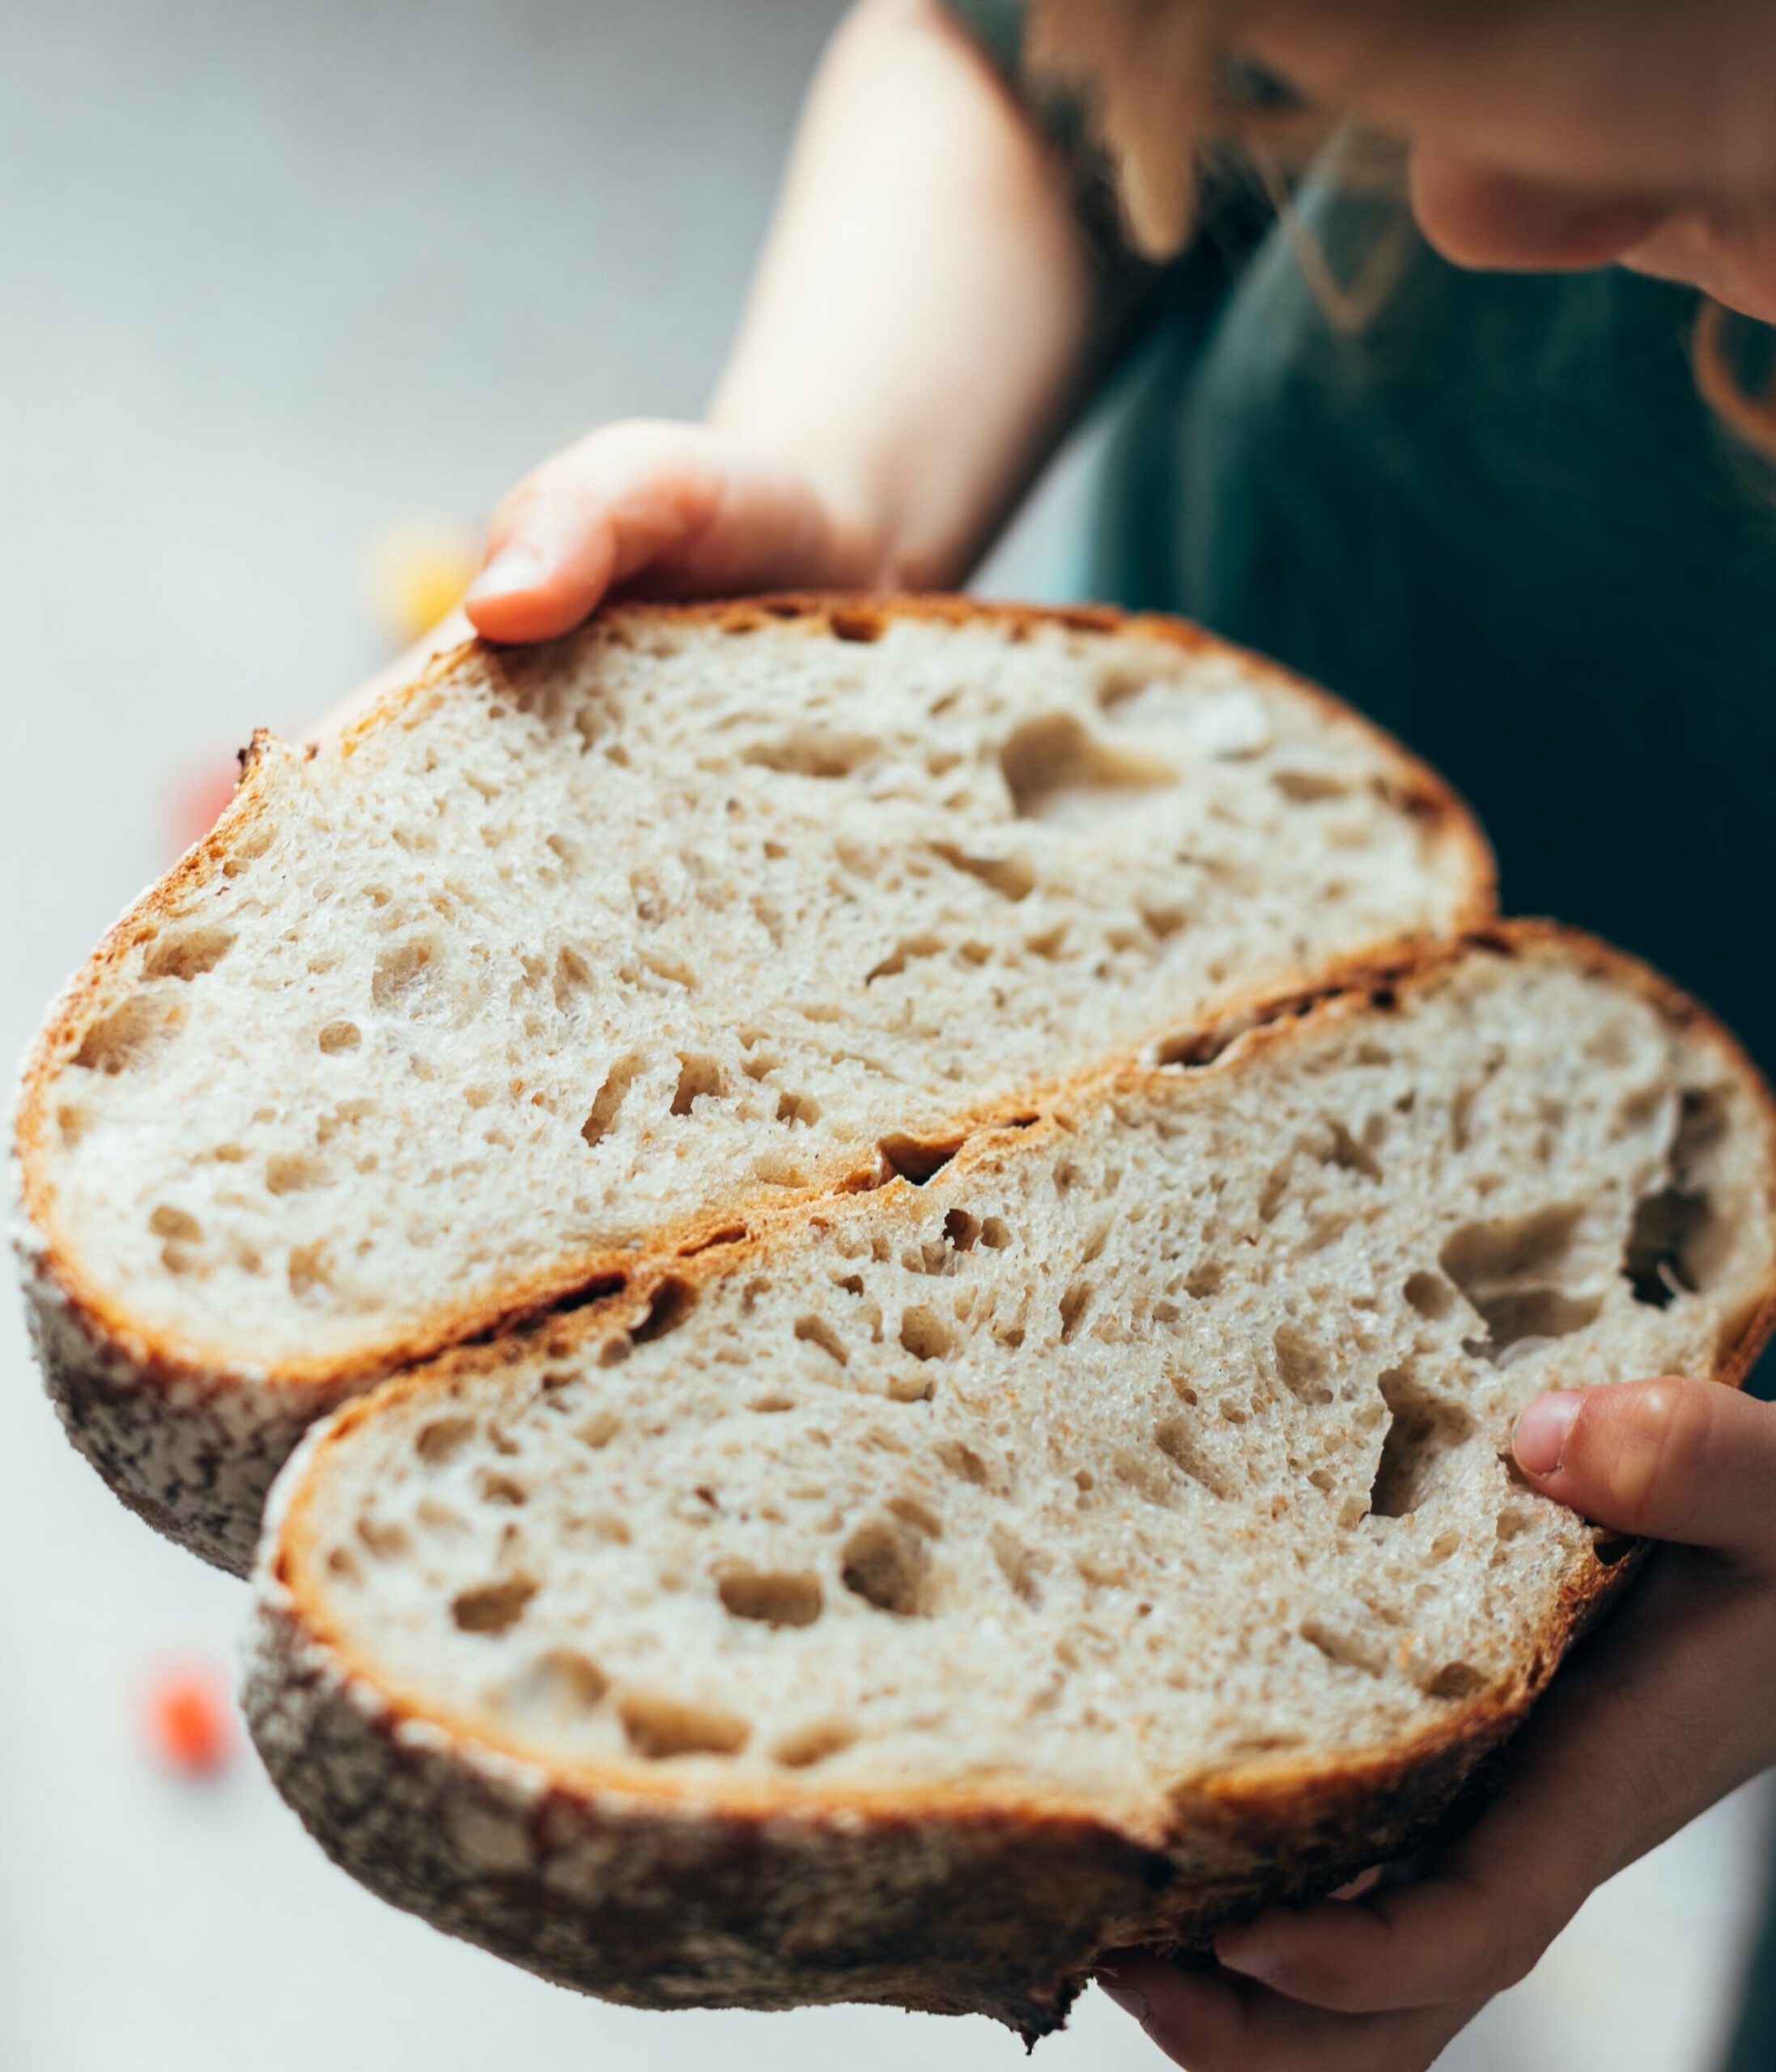
This is usually the first step when creating the dough. Simply mix the flour and water together. This helps to draw out sugars from the flour and also increases dough extensibility. This means the dough is more stretchy, allowing the dough to fill with more gases produced from the process resulting in an airy loaf.
Full step by step video Sourdough Bread course available on Skillshare
Ingredients – Makes 1 Loaf
325g Organic strong white flour
235g Water at room temperature (72% hydration)
65g Leaven
7g Seasalt
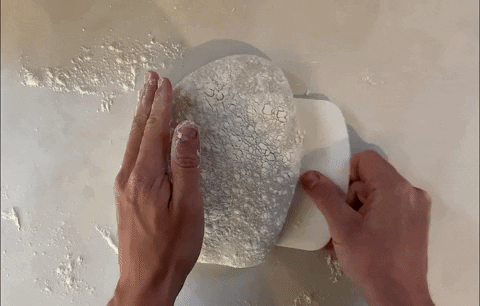
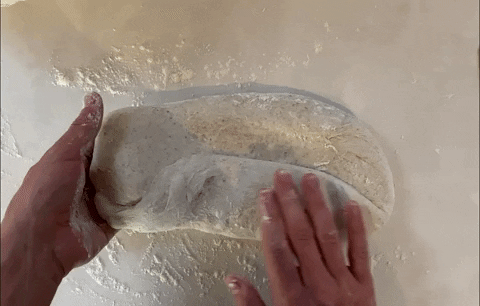
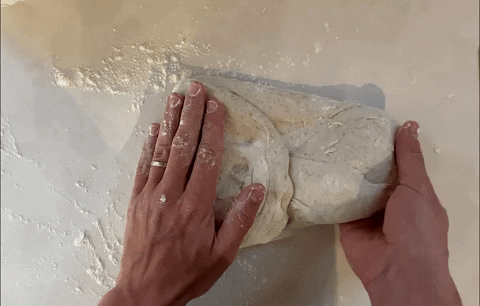
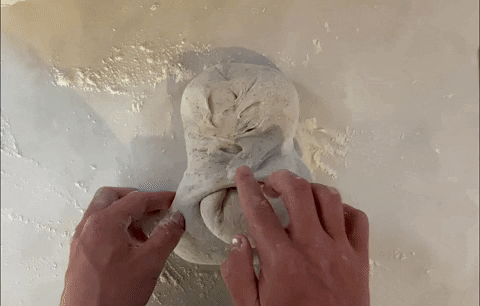
Final Shape
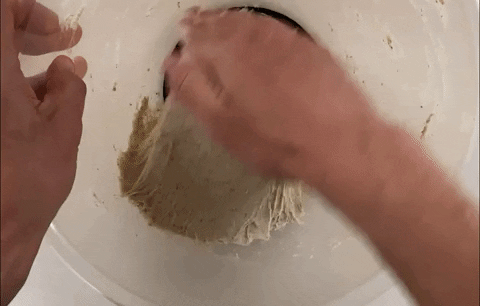
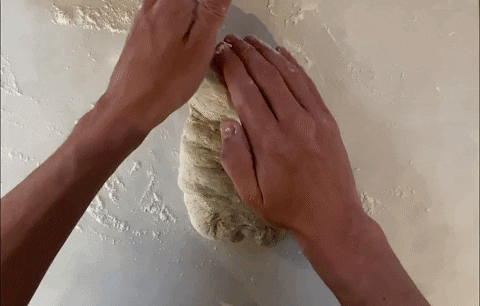
To create the final shape you need to perform a series of folds. Start by pulling the bottom out and fold over the dough. Then pull each side separately and fold over the dough. Pull the top and fold over itself. You want to build nice even tension across the sides of the dough, you can do this by folding the edges in over themselves making the loaf nice and tight. Fold over itself. Leave for 1 minute to let the seam on the bottom seal.
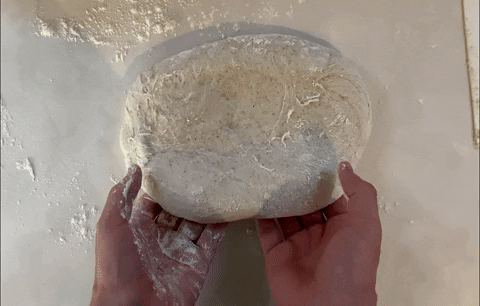
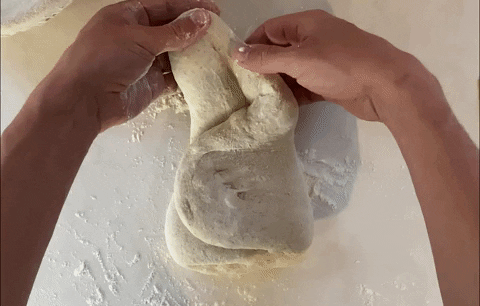
Basket/Bowl
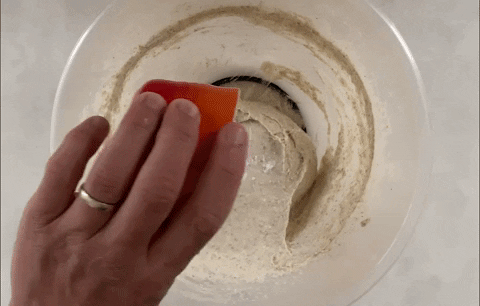
If you don’t have a bread basket you can use a suitably sized bowl, just line it with a clean kitchen towel. Lightly cover the towel with flour ready for your loaf to stop the dough from sticking. Add flour to the surface of the dough, flip the dough over and fold it once more together and place it into a floured bowl/basket, smooth side facing down with the seam facing up.
The Final Rise
I like to allow the dough a bit longer to proof in the basket before placing in the fridge. Allow it to rise a little more, this should take approximately 30 – 45 minutes. Place into the fridge for 12 – 18 hours (I leave it overnight). This allows more subtle flavours to develop in the loaf and slows down the final rise.
Timings & Checklist
Autolyse – Mix flour & water
3 hours
Add Leaven to flour & water then mix
30 minutes
Mix, add salt, mix again
30 minutes
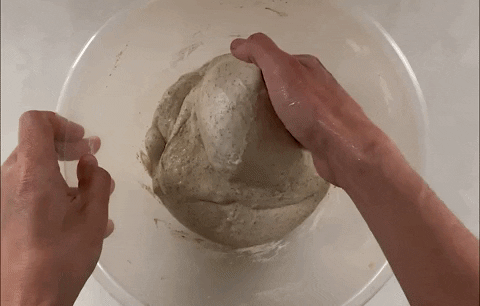
1st Turn
45 minutes
2nd Turn
45 minutes
3rd Turn
60 minutes
4th Turn
90 minutes
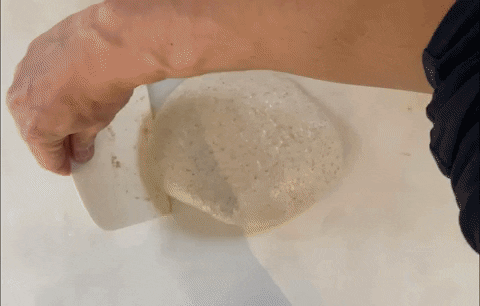
Preshape & Bench Rest
30 minutes
Final Shape & Final proof in basket/bowl
30 minutes
Place into the fridge for final rise / cold proof
12 to 18 hours
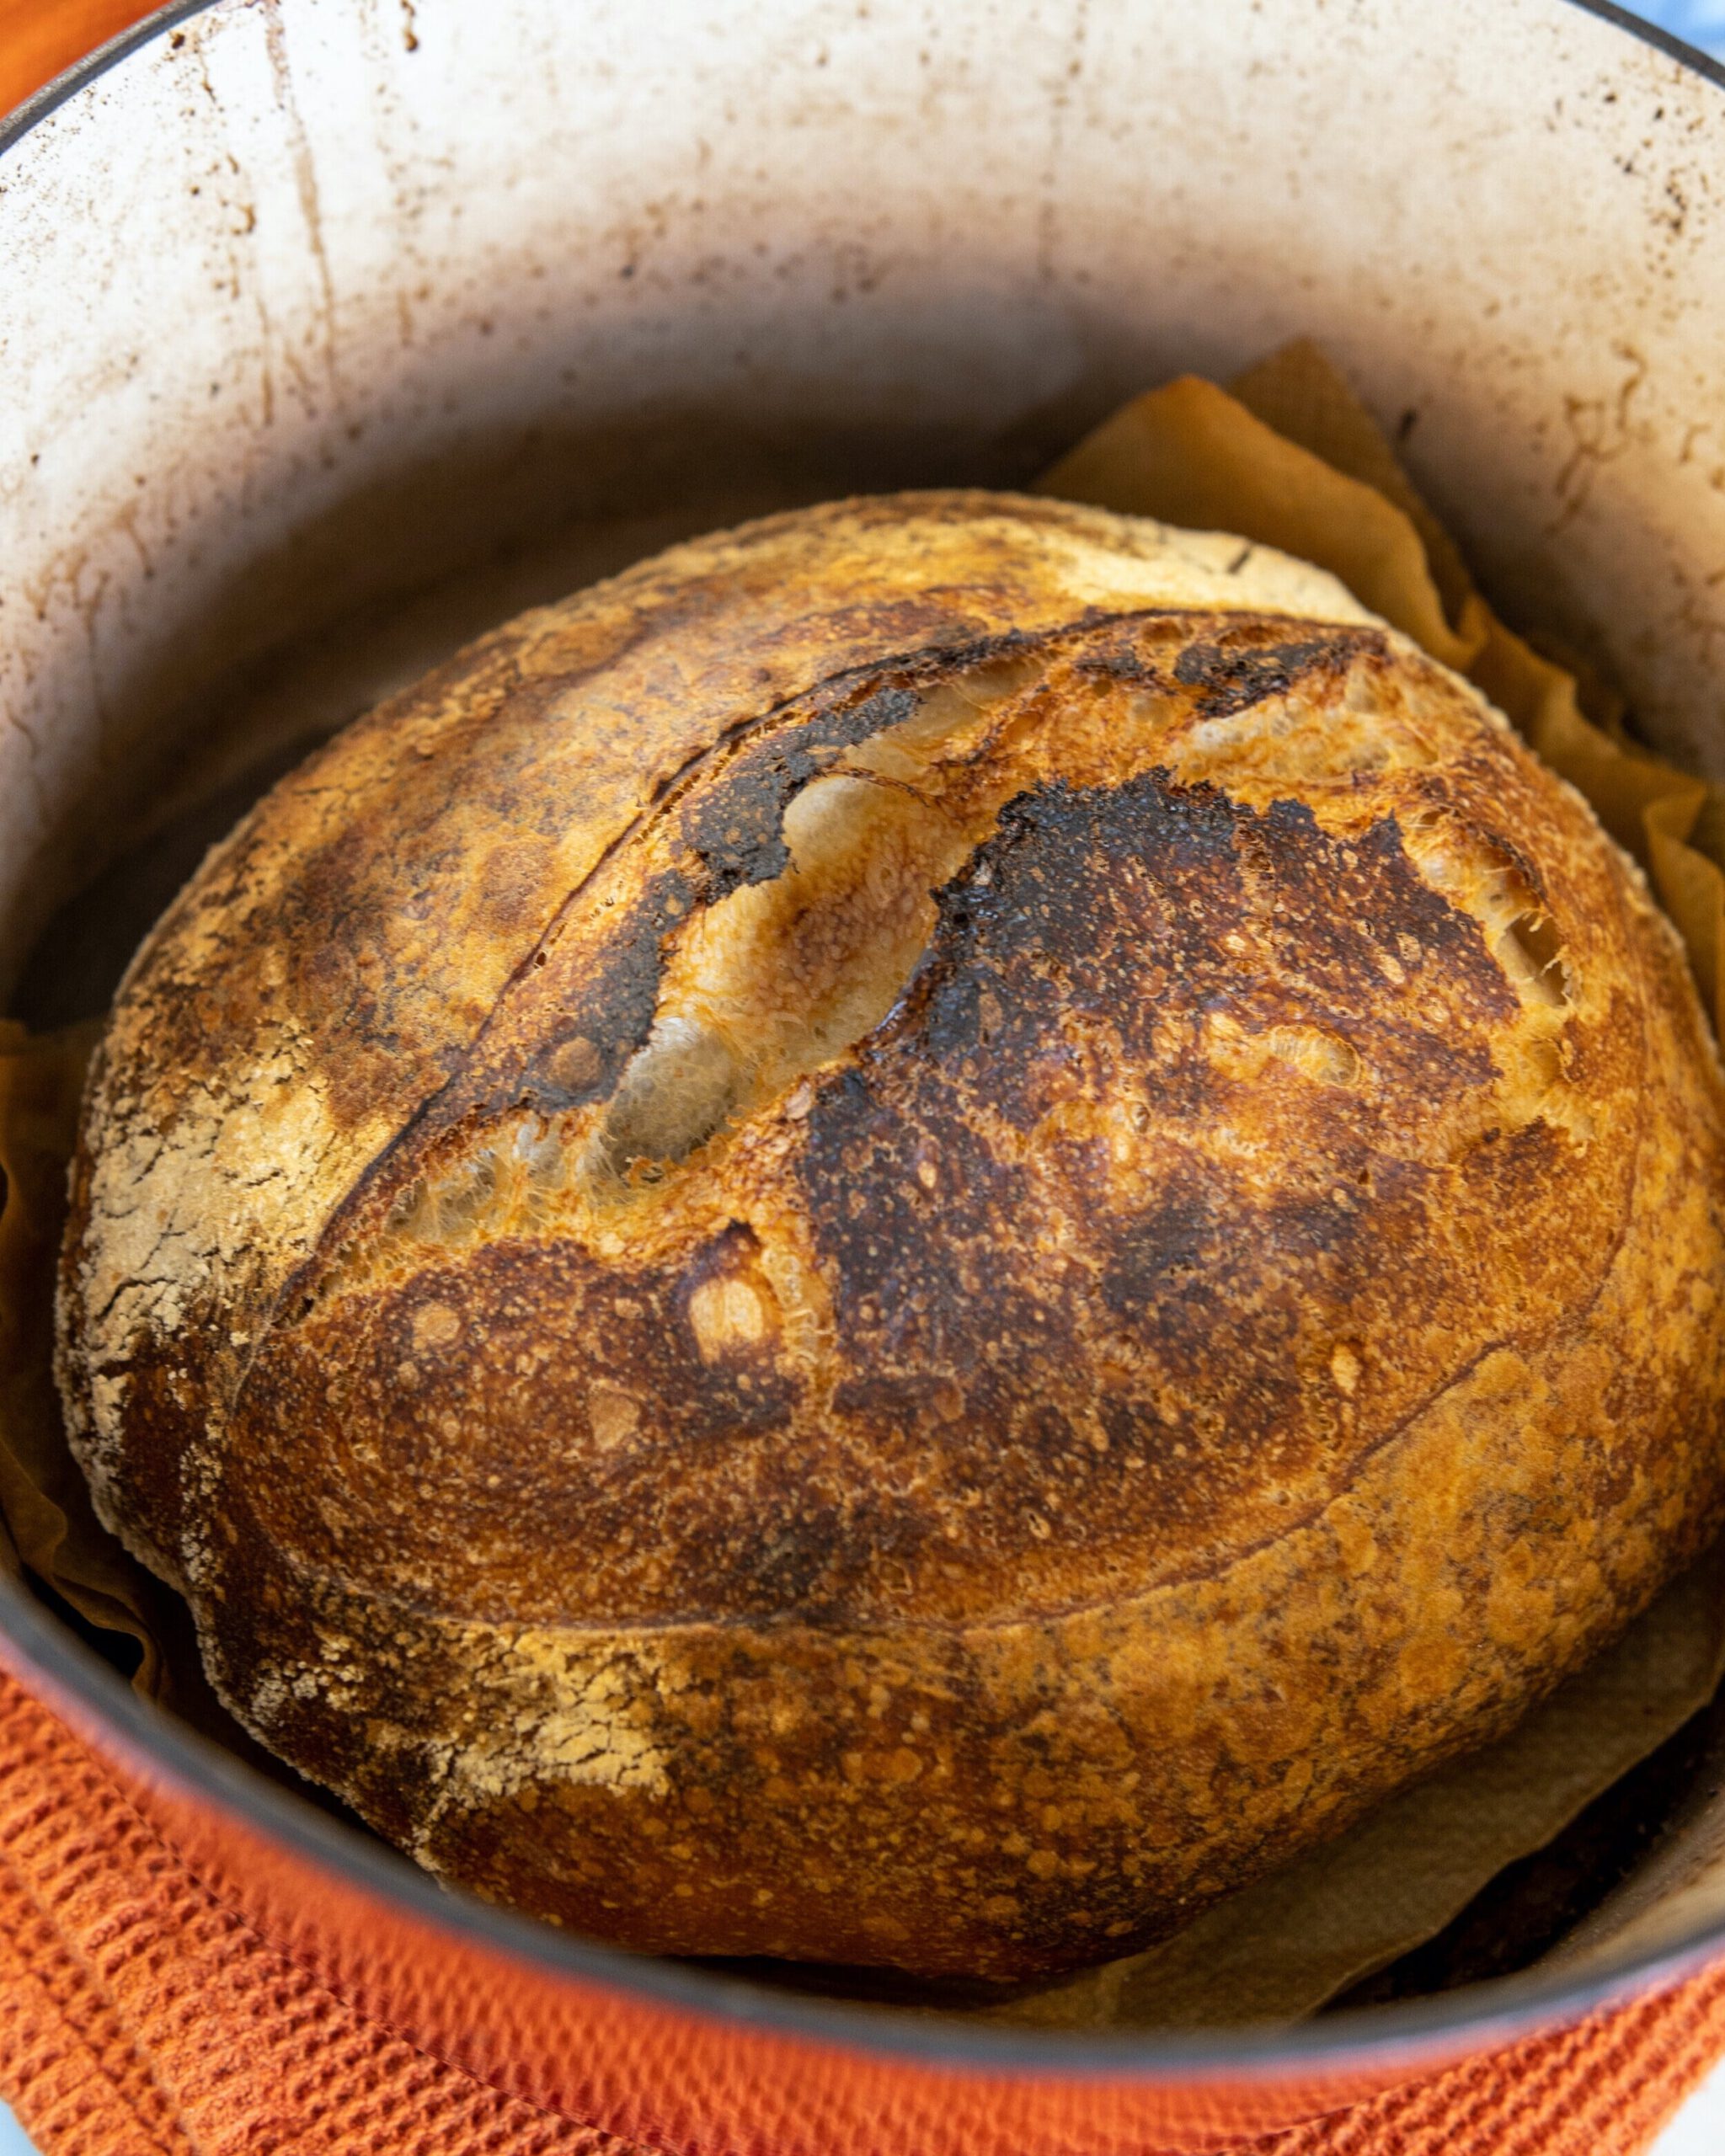
Bake
45 minutes
Leave to cool (if you can wait) and then enjoy 🙂
How temperature affects timings
The temperature has a huge affect on the final loaf. Ideally, try to keep the dough at an approx temp between 22°C – 26°C, no worries if not, my kitchen is pretty cold in comparison (20°C). It just means that the bulk process will take slightly longer if the dough is colder. I like to proof my bread in the same spot to keep consistency, this is next to the heater to try and keep it at 23°C.
For reference, this is how temperature impacts time during bulk fermentation. Use this as a guide but everyone’s kitchen will be different.
23°C – bulk fermentation 5.5 hours
24°C – bulk fermentation 5 hours
25°C – bulk fermentation 4.5 hours
26°C – bulk fermentation 4 hours