https://www.youtube.com/watch?v=BnW4VC3XRTs
My go to pizza dough recipe
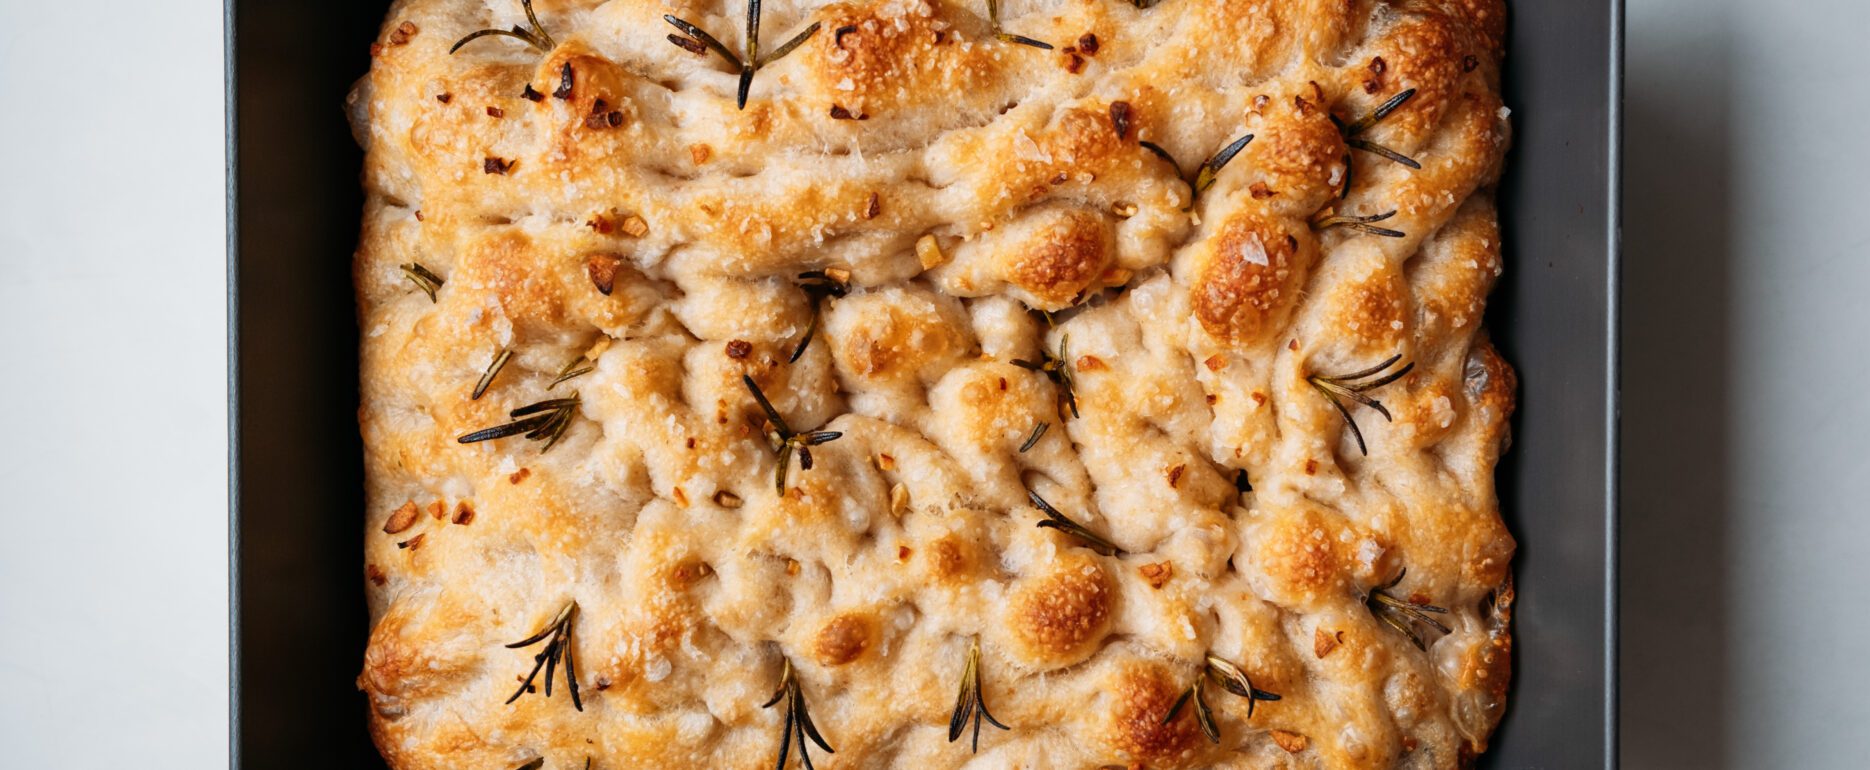
This is my quick and easy go-to pizza dough recipe – and for good reason! It’s the perfect base for a fantastic weekend pizza night. But the real magic is in the cold-proofing process. This dough is amazingly versatile. Besides delicious pizza, you can transform it into incredible loaves, rolls, flatbreads, focaccia, and more.
Makes 4 Pizzas
- 600g “00” flour
- 390g room temperature water (65% hydration)
- 1g instant yeast
- 12g fine sea salt
- 12g olive oil
Cold Proofing
Cold proofing is a game-changer for pizza elevating your pizza to the next level. By refrigerating the dough for 24 to 72 hours, you enhance its flavour, texture, and workability. This slow fermentation process allows enzymes to break down carbohydrates into simple sugars, enriching the dough’s taste and improving its structure for that ideal crispy crust and chewy interior.
Benefits
Incredible Flavor: Slow fermentation in the fridge develops a deep, complex flavour that a quick-rise dough can’t achieve.
Airy, Chewy Crust: Cold-proofing creates a beautifully bubbly, light crust with a satisfying chew.
Easy Handling: This dough is less sticky and much easier to stretch and shape after its time in the fridge.
Ultimate Convenience: This is a super easy pizza dough recipe to follow. Make the dough in advance and have it ready when pizza cravings hit. It happily sits in the fridge for 24-72 hours.
Day 1: Mixing & Kneading
1. Activate the Yeast: Add the instant yeast to the water and olive oil. Stir until the yeast has dissolved.
2. Combine Dry Ingredients: In a bowl, add the flour. Pour the water and yeast mixture over the flour and mix until a rough dough forms.
3. Mix and Knead: Once combined, tip onto your worktop and knead until a smooth, elastic ball is formed.
4. Autolyse (Rest): Let the dough rest under a clean kitchen towel or bowl for 15 minutes. This allows the flour to fully hydrate, making kneading easier.
5. Incorporate Salt: Gently push the salt into the surface of the dough with your fingers. Knead for another 5 minutes until the salt is evenly distributed and the dough strengthens.
6. Cold Proof: Shape the dough into a ball, place it into a lightly oiled container, cover with a lid, and refrigerate for 24 to 72 hours.
24 – 72 Hours Later: Pizza Time!
Portion the Dough: Carefully remove the dough from the container, trying not to deflate it too much. Divide the dough into 4 equal portions and shape them into smooth dough balls.
Proof at Room Temperature: Place the dough balls in a proofing tray or on a lightly floured surface. Cover and let them rest at room temperature for 2-4 hours.
Fire up the Oven: Get your oven blazing hot and ready for action! Aim for 400°C to 450°C (750°F to 850°F) if you are cooking Neapolitan pizza.
Stretch & Top
Place a dough ball on a lightly floured work surface.
Using your fingertips, gently press the dough outwards from the centre, pushing the air towards the edges to create a rim for your crust.
Continue to gently stretch the dough until it reaches your desired size (around 12 inches). You can use a combination of your hands and gravity to carefully stretch it further.
Transfer the stretched dough to a lightly floured pizza peel.
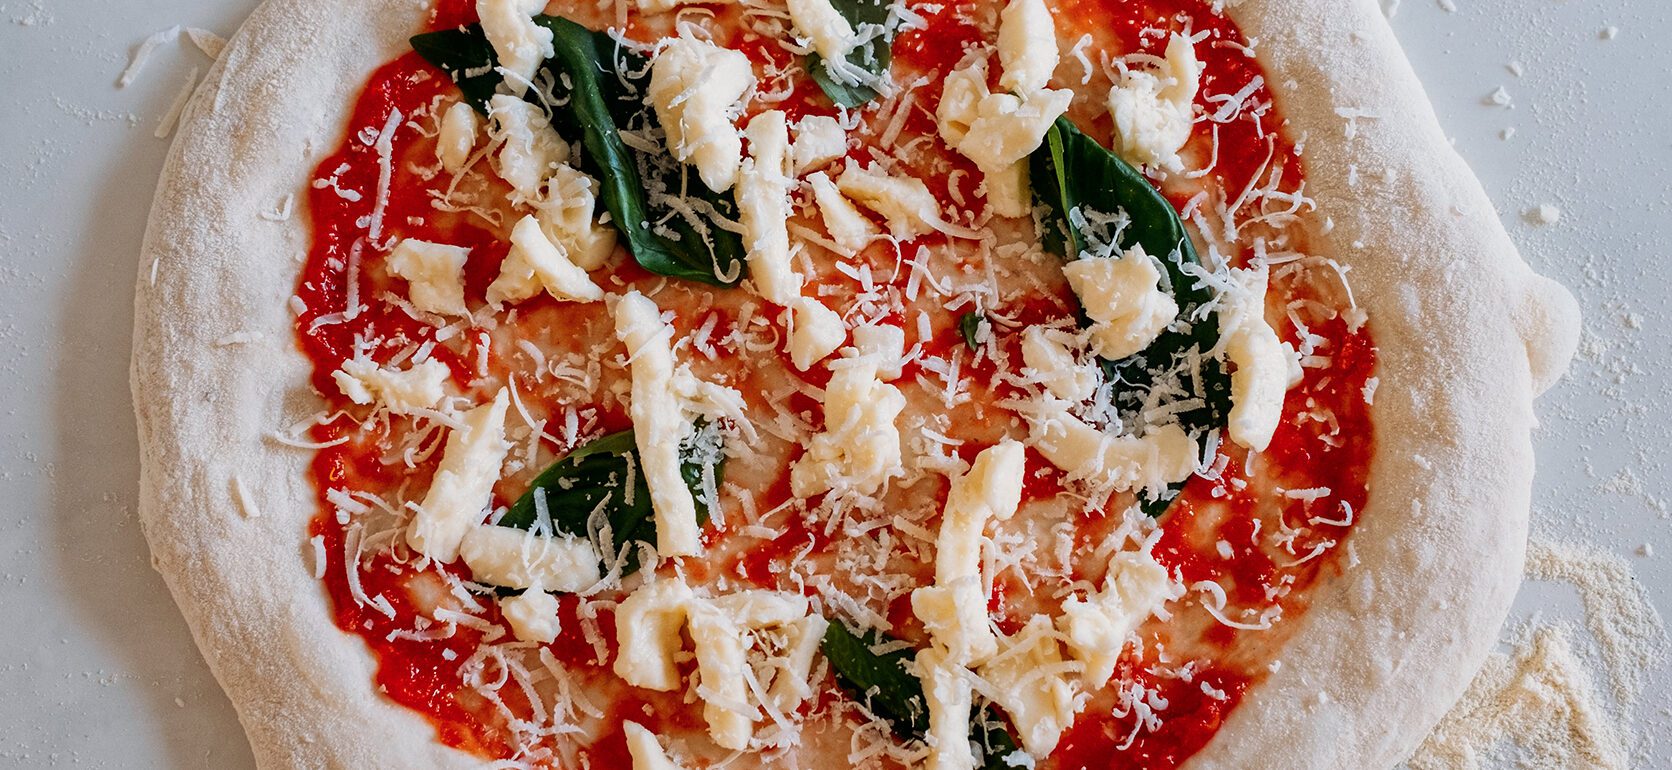
Spread your favourite sauce over the base, leaving a small border for the crust.
Add your favourite toppings.
Cook
1. Carefully slide the pizza from the peel into your preheated oven.
2. Rotate the pizza every 30-40 seconds using the peel to ensure an even bake.
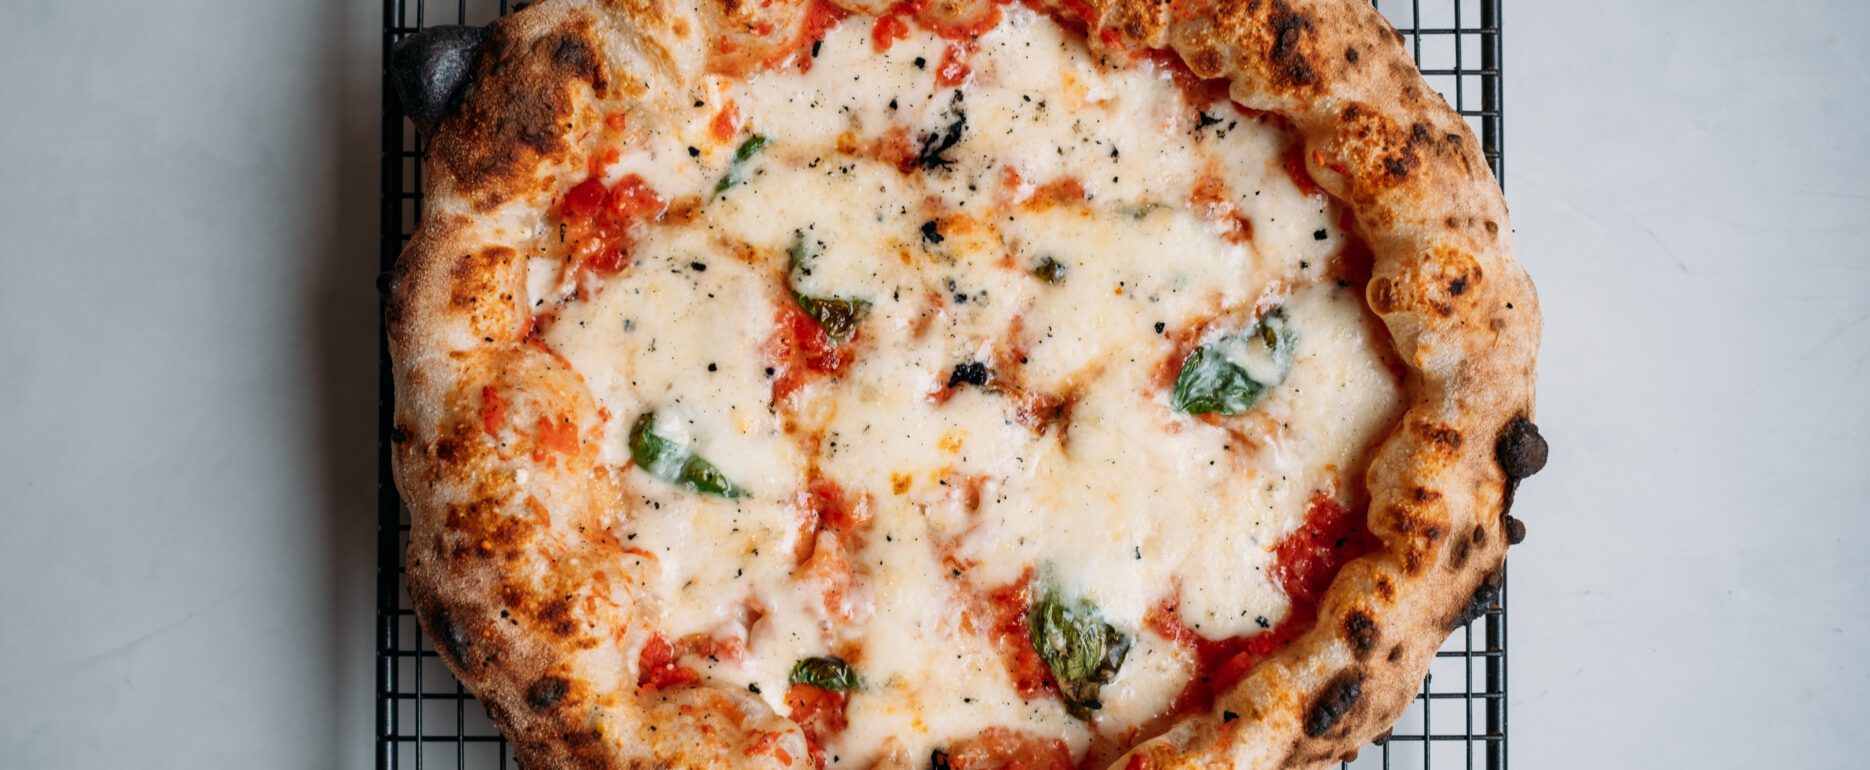
3. Bake until the crust is golden brown and the cheese is melted and bubbly.
4. Remove from the oven, slice and enjoy.
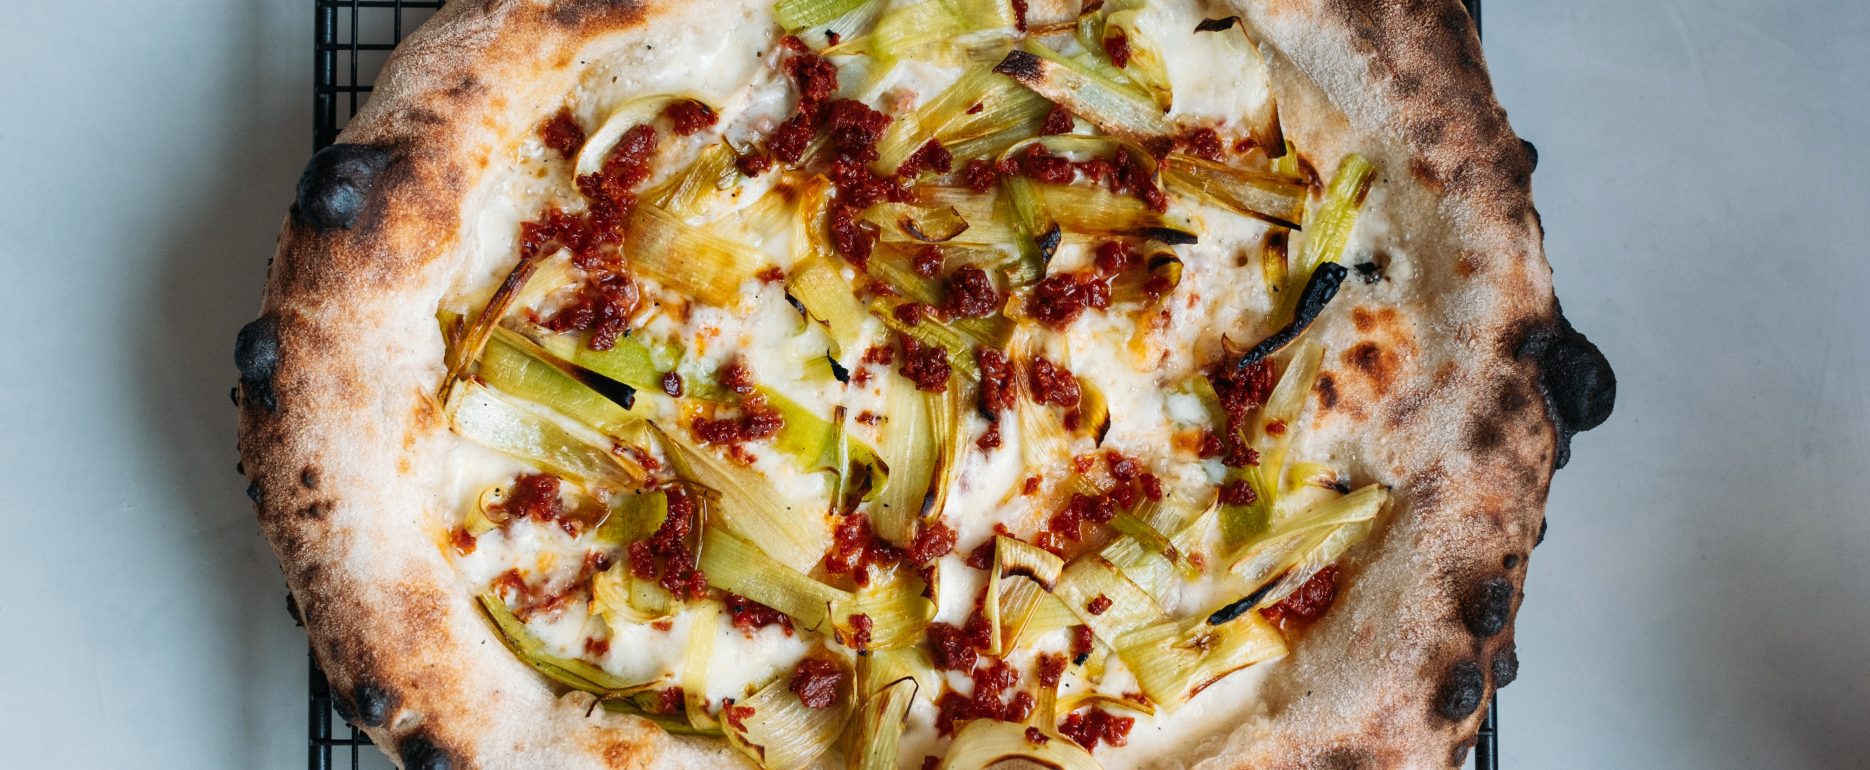
If you’re looking for pizza inspiration check out some of the pizza recipes on my website. Here are some links to a couple of my favourite pizzas below.
My Gear
Looking to elevate your pizza-making?
Below are my handpicked affiliate links to the complete range of Ooni products, from their revolutionary pizza ovens to must-have accessories.
Cooking with an Ooni pizza oven has transformed my pizza-making. Having experimented with each of their models, I’ve curated a list of my current favourite accessories and ovens.
If you have queries about Ooni’s lineup or need guidance in selecting the right oven and accessories to match your needs, don’t hesitate to contact me on Instagram. I’m here to share insights and help you make an informed choice.
Karu 16: Unleash the potential of fire and stone with the Ooni Karu 16 – where precision meets versatility in outdoor cooking.
Karu 12G: Compact power, monumental flavours – the Ooni Karu 12G brings professional-grade pizza making to your garden.
Ooni Perforated Pizza Peel: Slide, turn, and retrieve like a pro with the Ooni Perforated Pizza Peel – the lightweight champion for perfect pizzas every time.
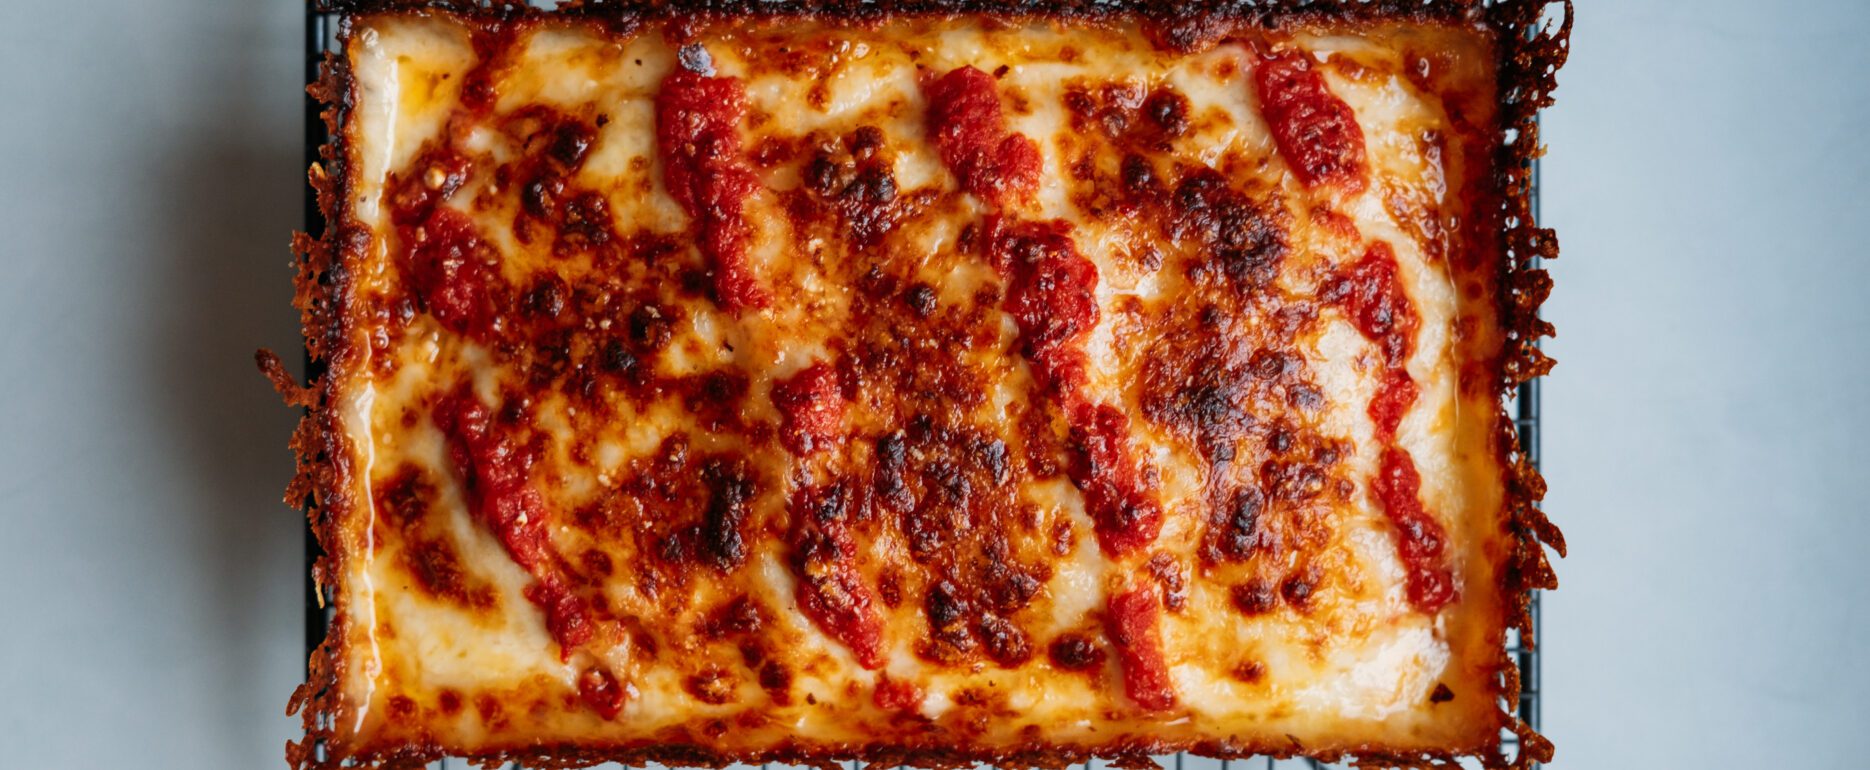
Detroit-Style Pizza Pan: Achieve crispy corners and a fluffy crumb with the Ooni Detroit-Style Pizza Pan – your secret to authentic Motor City pies.